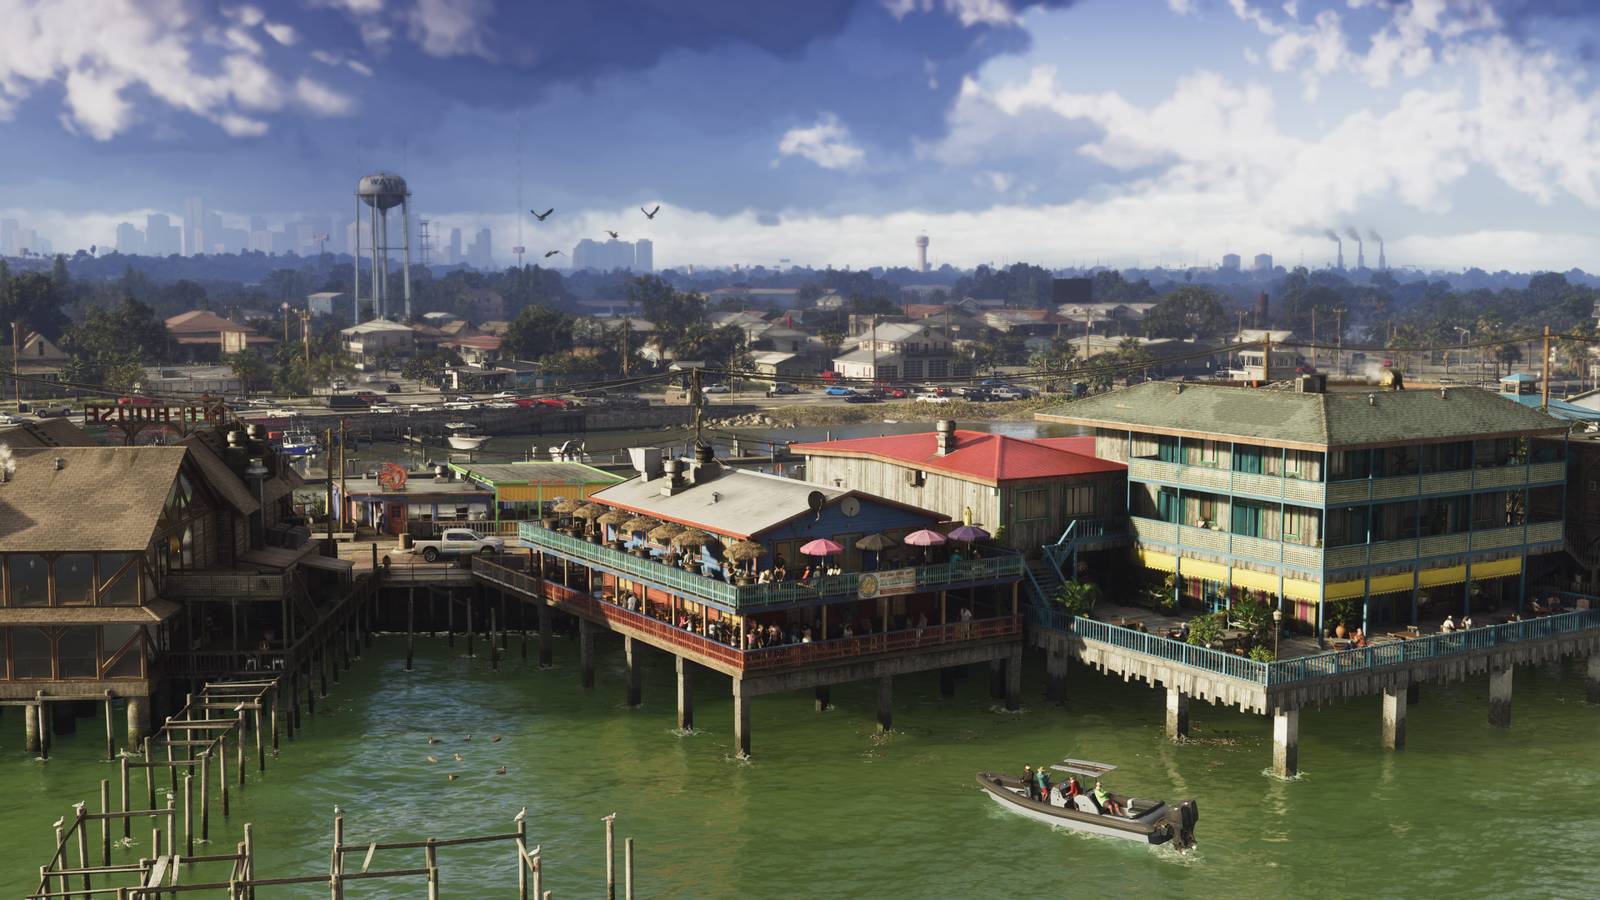
Ultimis and Primis team up for the first time in Black Ops 4 as they travel to Camp Edward in Alpha Omega. This ultimate guide to Alpha Omega will cover the entire easter egg walkthrough with a step-by-step guide to ensure you complete it as a solo player or with a team. The Alpha Omega easter egg steps can be found below, and we’ll walk you through the entire process of this Black Ops 4 Zombies map from turning on the power to facing the deadly Avogadro.
Alpha Omega Easter Egg Step-by-Step Overview
- Turn on the Power
- Activate Pack-a-Punch
- Access Rushmore and Find the 4 Activation Codes
- Grab the Galvaknuckles and Set the 5 Clocks
- Escort the Red Nova Six Crawler to the Transfusion Facility
- Get the 115 Canister by Scaring Marlton With Sgt. A.D.A.M.
- Grab the Server and Take it to the Operations Room
- Find the 3 Unique Painting Codes
- Restore the Power
- Overload A.D.A.M. Units to Build Peter McCain in the APD Interrogation
- Escort the Blue Orb to APD Interrogation
- Defeat the Avogadro
Step #1: Turn On the Power & Activate the Pack-a-Punch

As you spawn into Alpha Omega, head to the Cul-de-sac and enter the garage with the red car. Inside the Power House, you will find the power switch to the left that will activate the power. Now, you can begin the process of turning on the Pack-a-Punch machine.
Head downstairs via the bunker and enter the Generators room. There’s a terminal with a red screen to interact with, which begins a small lockdown procedure. Once the lockdown ends, return to the surface in the Cul-de-sac and look for four houses that have green gas coming out of them (there are six houses in total, but only 4 have gas).
Go to the backyards of each house and look for a Ventilation Unit. You can hold the Interact button to clean them, and once you’ve done this for all four vents, the Pack-a-Punch machine will be activated down in the bunkers.
Step #2: Build the Riot Shield

The Riot Shield has 3 parts with 9 spawns. You should build the Riot Shield at the Green House Upstairs. While not needed for the easter egg, it will make the steps far easier if you have protection on your back.
Part #1 Location
- Operations, on the table by the stairs.
- Operations, on the table upstairs by the desk and collapsed wall.
- Operations, by the cabinets in the garage.
Part #2 Location
- In the Cul-de-sac, leaning on the green car.
- In the Cul-de-sac, leaning against the back of the school bus.
- In the Cul-de-sac, by the trashed furniture at the back of the truck.
Part #3 Location
- In the Beds area of the Bunker, on the shelf by the entrance to the Generators room.
- In the Beds area of the Bunker, leaning on a shelving unit.
- In the Beds area of the Bunker, towards the Diner entrance by the yellow couches.
Step #3: Build the Telepad

The Telepad also has 3 parts and 9 potential pawn locations. You should build the Telepad at the APD Control room inside the Bunker:
Part #1 Location
- Inside the Green House Downstairs, to the right of the front door.
- Inside the Green House Downstairs, inside the kitchen by the zombie barrier.
- On the balcony above the front door of the Green House.
Part #2 Location
- In the Generators room towards the entrance to Beds.
- In the Generators room, by the Broken Arrow logo on the wall.
- By the main generator in the Generators room.
Part #3 Location
- Inside the Transfusion Facility, specifically in the locker.
- Inside the Transfusion Facility, specifically at the surgery chair.
- In the Backyard of the Transfusion Facility by the boxes and bags of cement.
Step #4: Access Rushmore and Find the Codes
You can now head to the Operations room where you can interact with the terminal to access Rushmore. He will ask you to gather authorization codes, which can always be found in the same area, but will have randomized numbers.
With your four codes memorized, head back to Rushmore and input them in the keypad. The codes must be entered in the order shown below, which is the code in Operations > APD Interrogation > APD Control > Yellow House Upstairs:
Authorization Code #1

On the table to the left of Rushmore in the Operations room.
Authorization Code #2

Inside the APD Interrogation room on either the desks on the first floor or by the computer terminal on the top floor.
Authorization Code #3

Inside the APD Control in the Bunker. There is a stack of papers in this room, and you need to melee them to reveal the code.
Authorization Code #4
Head into the Bunkers and enter Solitary. There’s a wall here filled with keys. Interact with them to pick one up.
With the key, head to Yellow House Upstairs and interact with the desk to unlock it and reveal your final code.
Step #5: Purchase the Galvaknuckles and Set the Clocks

Inside the truck in the Cul-de-sac is the Galvaknuckles that you need to purchase. We also recommend turning on subtitles from the settings, as you’re going to need to listen for unique codes in the Bunker.
In the Diner, Beds, and Lounge areas of the Bunker, there will be a TV showing static. Locate the TV, then melee kill the zombie to turn the TV on. This will cause the Computer System to reveal a letter followed by 4 unique numbers. Memorize this combination and order, then wait for four more sets of codes.
The letter corresponds to a house, so look at the front lawn of each house for a mailbox that has your chosen letter:
|
Letter |
House |
|---|---|
|
A |
Yellow House |
|
B |
Green House |
|
C |
Prisoner Holding |
|
D |
Transfusion Facility |
|
E |
Operations |
|
F |
APD Interrogation |
Then, head into the house to find a clock on the wall and interact with it until it reads the time stated by your numbers. For instance, if House A has the numbers “Zero. One. One. Five.” Then melee the clock in House A until the clock reads 1:15. You need to repeat this for all four of your houses in the order that they appeared on the TV, until you’re left with a house that didn’t have a number to set.
Find the house that you didn’t set a number for once you’ve set the other clocks, and when you interact with it, the clock will set itself to a time that you can translate into a code. Take this code to Rushmore and input it to complete this step.
Step #6: Grab the Free Porter’s Mark II Ray Gun & Upgraded Weapon
With the steps above completed, head upstairs in Operations to find a free Porter’s Mark II Ray Gun for you to collect. There’s also a free Pack-a-Punch gun in the weapon locker in the Prisoner Holding building, which isn’t necessary, but it does provide you with a free PaP gun and Wonder Weapon as early as possible.
Step #7: Escort the Red Nova Six Crawler
When you’re ready, interact with Rushmore. You will now need to head to the Generators room in the Bunker until a glowing-red Nova Six Crawler spawns. This crawler dies if you shoot it once, so be careful where you aim! Escort the Nova Six Crawler from Generators to the Transfusion Facility, and it will crawl through a barrier.
Step #8: Use Sgt. A.D.A.M. to Scare Marlton
Interact with Rushmore, and he will task you with going down to the Storage area of the Bunker. Inside, you can find Sgt. A.D.A.M. Interact with him and take him upstairs to the Diner.
This will cause the locked door to open and Marlton will drop a 115 canister for you to pick up. You can now take this canister to the Transfusion Facility and place it on the shelf with the other canisters.
Step #9: Deposit the Server Into the Operations Room
Interact with Rushmore and place a Telepad in the Prisoner Holding area and the Power House. You now need to wait for the electric-infused Nova Six Crawler to spawn. When it does, let it zap the panel to the left of the Telepad in the Power House.
This will open the case and allow you to take a server, but this part is timed, so get ready for a sprint, preferably with your Specialist Weapon! Immediately enter the Telepad and sprint to the Operations room, where you can interact with the wall to the right of the MOG Shotgun wall buy to place the server into the rack.
Step #10: Find the Painting Codes
Interact with Rushmore and head to the Bunker. You need to Pack-a-Punch your weapon to get the Brain Rot ammo mod, as you need to get a Turned zombie to smack a painting with green gas that reveals a unique code. There are three total paintings in these locations:
- In the Green House Upstairs
- In the Beds area
- In the Lounge area

Input each of these codes into Rushmore to complete the step.
Step #11: Restore the Power
Interact with Rushmore, and the power will go out on the map. There will be multiple electrical panels in the Bunker that you need to interact with:
- Diner – This panel’s lever must face up.
- Beds – This panel’s lever must face up.
- Generators – This panel’s lever must face up.
- Lounge – This panel’s lever must face down.
- Storage – This panel’s lever must face down.
- Solitary – This panel’s lever must face down.

Doing so correctly will make the lights on the electrical panels glow green instead of red. You can now head to the power switch in the Power House to flip the switch and turn the power back on.
Step #12: Overload A.D.A.M. to Revive Peter McCain
Interact with Rushmore, and in specific locations on the map, an A.D.A.M. mannequin will be sparking. You need to find the mannequin and interact with it to begin a lockdown. When the lockdown ends, the mannequin will explode, and you can pick up a piece of it.
The A.D.A.M. mannequins will spawn in a specific order:
- If A.D.A.M. mannequin #1 spawns in the Yellow House Backyard, then the second mannequin will be in the Diner, and the third mannequin will be in the Prisoner Holding.
- If A.D.A.M. mannequin #1 spawns in the Green House Backyard, then the next mannequins will be found in the Lounge and then the Transfusion Facility.

After you have completed three mannequin lockdowns, you can head to the APD Interrogation room to place the pieces into the chair.
Step #13: Escort the Elemental Orb to Peter McCain
Once you speak with Peter McCain (the mannequin), there will be a floating blue orb either in the Yellow House Upstairs or in the Beds area of the Bunker. You need to escort the orb back to the APD Interrogation. Then, you can interact with Rushmore for the final time.
Step #14: Beat the Avogadro Boss Fight
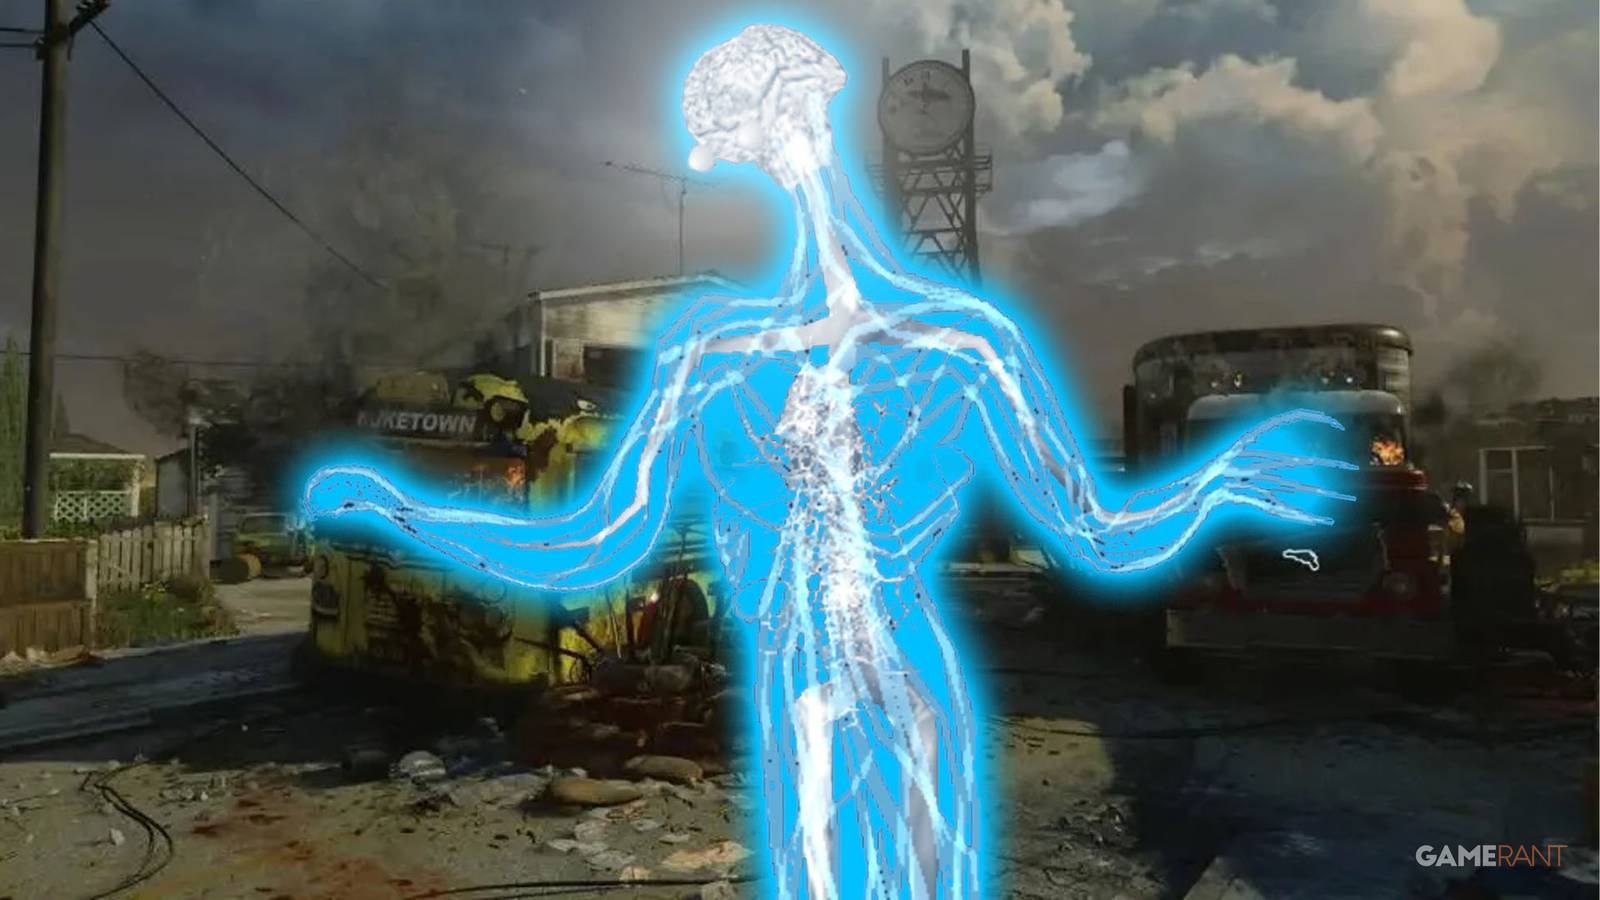
Head down to the APD Control and interact with the terminals to activate the APD Release Sequence. This will begin the boss fight. You now need to get mannequin kills around the APD’s back-left canister to fill it up, which will open the APD and allow the Avogadro to enter the map.
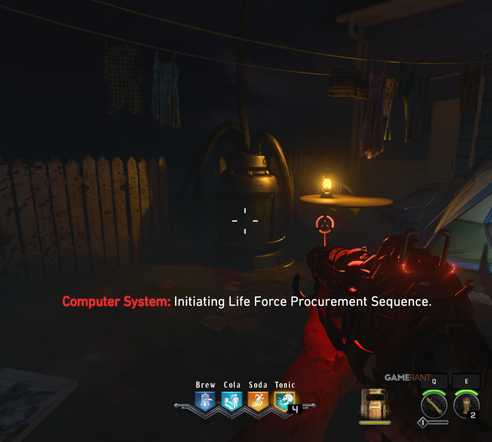
When the Avogadro spawns, do your best to avoid it. There will now be a canister in four rooms in the Bunker that you need to interact with and fill with mannequin souls, so kill enemies near it to fill it up, then proceed to the next room. This is the order we’d recommend doing:
- Lounge
- Diner
- Storage
- Beds
With these four rooms now filled with souls, head back to the APD Control and bring the Avogadro inside. You now need to shoot the Avogadro to push him back onto the APD’s stairs (preferably with a Ray Gun Mk II), which will suck the Avogadro into the device and end the boss fight.
You can now interact with the terminal in the APD Control where you started the boss fight, and then the door that trapped the Avogadro will open and reveal a crystal for you to pick up, which will provide you with the ending cutscene.

- Released
-
October 12, 2018
- ESRB
-
M for Mature: Blood and Gore, Drug Reference, Intense Violence, Strong Language
PakarPBN
A Private Blog Network (PBN) is a collection of websites that are controlled by a single individual or organization and used primarily to build backlinks to a “money site” in order to influence its ranking in search engines such as Google. The core idea behind a PBN is based on the importance of backlinks in Google’s ranking algorithm. Since Google views backlinks as signals of authority and trust, some website owners attempt to artificially create these signals through a controlled network of sites.
In a typical PBN setup, the owner acquires expired or aged domains that already have existing authority, backlinks, and history. These domains are rebuilt with new content and hosted separately, often using different IP addresses, hosting providers, themes, and ownership details to make them appear unrelated. Within the content published on these sites, links are strategically placed that point to the main website the owner wants to rank higher. By doing this, the owner attempts to pass link equity (also known as “link juice”) from the PBN sites to the target website.
The purpose of a PBN is to give the impression that the target website is naturally earning links from multiple independent sources. If done effectively, this can temporarily improve keyword rankings, increase organic visibility, and drive more traffic from search results.